Tag Archives: christmas

DIY orange surprise balls

9 Dec

Did you get an orange in your stocking when you were growing up? I always did, right in the toe. Something to do with Santa paying someone’s dowry or my grandpa having to eat the orange “peel-n-all” during the depression or something like that. I thought these surprise balls would be a fun twist on that old tradition. They can be made big or small, I tried to keep mine close to the size of a small grapefruit (it’s supposed to be an orange after all).#DIY orange surprise balls

Supplies:

several different colors of crape paper including orange

small surprises (stickers, erasers, etc.)

white glue

scissors

green construction paper

a button

First cut the crape paper in half (HonestlyWTF suggests using crape paper sheets and cutting it into stripes but I wasn’t sure where to find that in town so I used streamers). This step was a little tedious.

Start wrapping your surprises up! I started with something round (a light-up ball) to help get the right shape. Just wrap the first surprise in crape paper until it is fully covered. Then switch colors and add another surprise. Keep wrapping and adding items until everything is inside! Make sure to use orange for the final layer.

WrapingSurpriseBallNow that everything is all wrapped up. Use a dab of glue to secure the end. Then cut a couple small leaves from the construction paper and glue them over the end and glue the button on top of the leaves. Let it dry and it’s ready to be unwrapped!

If  you wanted to tell the story behind the tradition, you could add it on strips of paper with the surprises.

Side note: Dogs don’t really like crape paper

_MG_4629

Stocking Stuffers for Her

2 Dec

My stocking stuffer giveaway is over and the winner was notified this morning by email. Thank you all for participating. It was quite successful and I will definitely be doing it again!

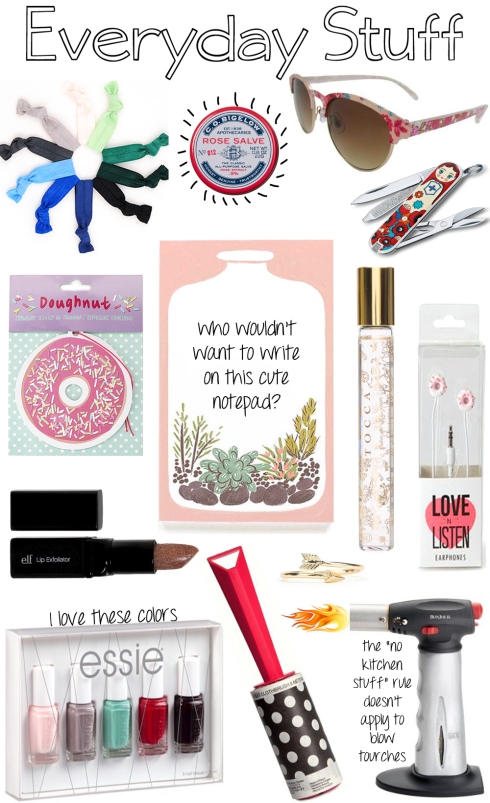
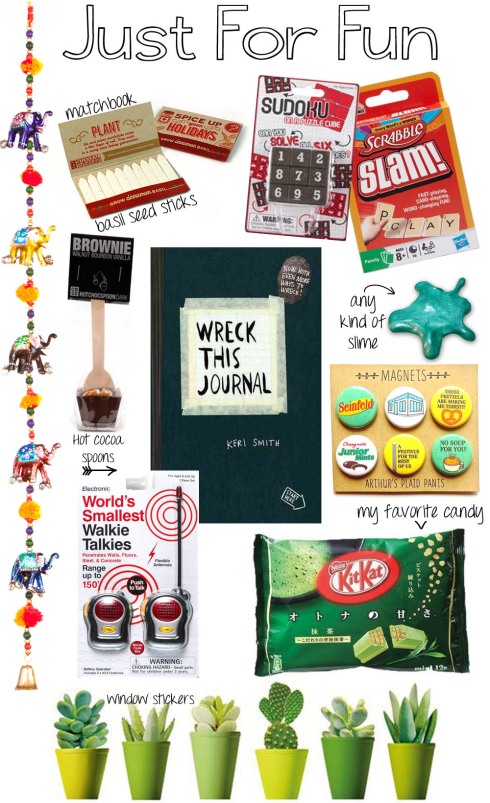
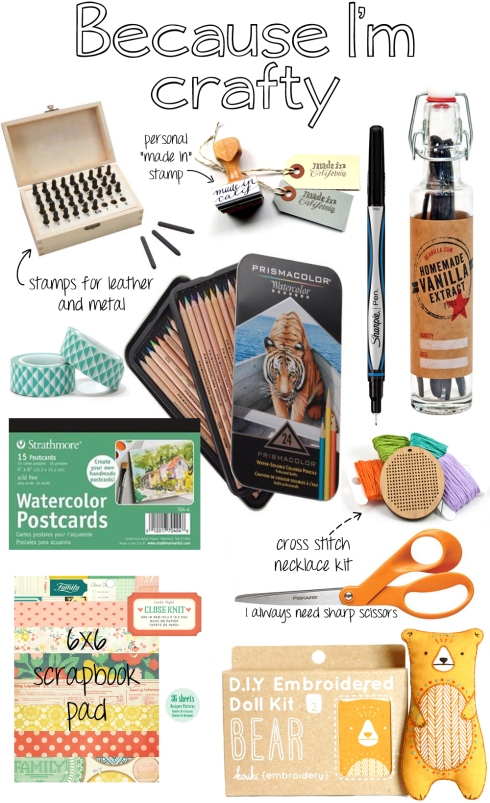
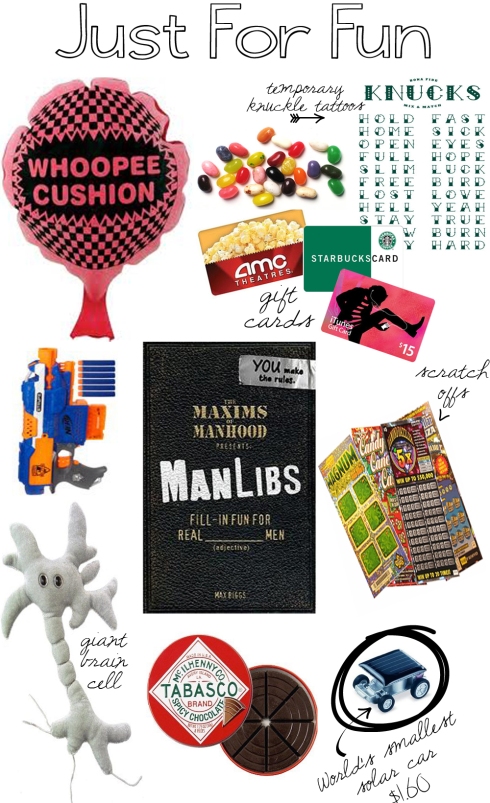
With stockings and Christmas on the brain, here are some things I want stocking stuffer ideas for the twenty-something, creative woman you know. Perhaps you’ll see a few things you need to pass on to your own personal Santa.

Stocking Stuffer for Her by Making Mondays

StockingStuffersforHer2

StockingStuffersforHer3

For all the links and a lot more ideas check out my ever-growing pinterest boards:

Stocking Stuffers for Her

and

Stocking Stuffers for Him

Stocking Stuffer Giveaway

20 Nov

NOW CLOSED

I’ve really gotten a jump on my Christmas shopping, just a few things left to order from Amazon. It feels good to be ahead, but I’m nowhere near close to finished. Now I have the whole month of December to focus on making gifts for the rest of my list!

In the spirit of giving and as a big thanks to all you guys for following, I put together a little stocking stuffer giveaway to help you get started on your boyfriend/husband/son/your own/whoever’s stocking.

Making Mondays Giveaway

Key Chain • Mini Sketchbook • Mini First Aid Kit • LED Flashlight
Quintin Co. Beanie • Little Trees Car Air Freshener • Whoopee Cushion

You must enter through the Rafflecopter link below. You have 5 chances to enter: Follow my blog, Leave a contact email address, Comment on this post, Follow me on Pinterest, and Follow me on Twitter.

Follow this link to enter the giveaway

This giveaway will run until Sunday December 1st at midnight. Winner will be randomly selected, notified via email, and announced here on Monday December 2nd. Winner will have 48 hours to respond with their address or a new winner will be chosen.

For some stocking stuffer ideas, check out my Pinterest boards:

Stocking Stuffers for Him
and
Stocking Stuffers for Her

DIY instant comfort boxes

18 Nov

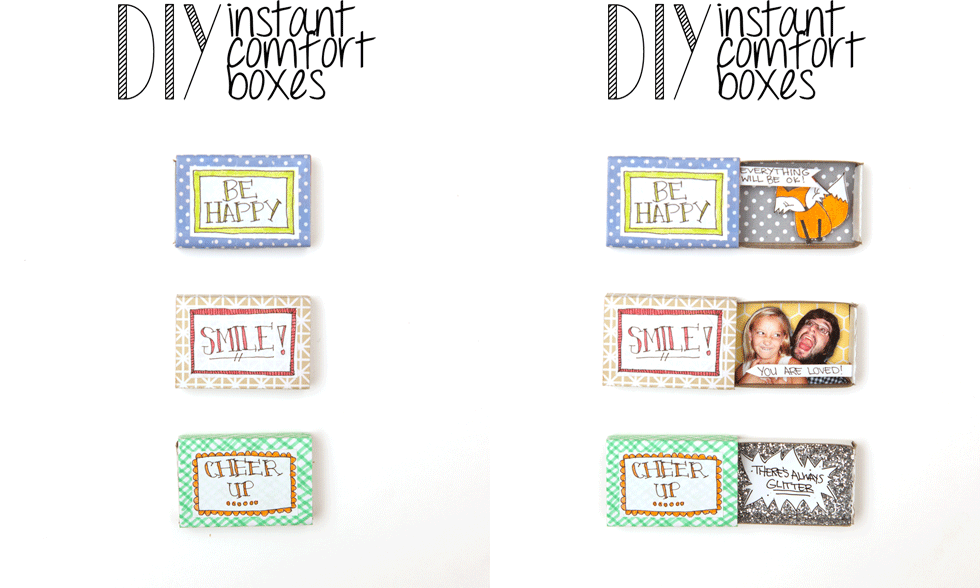
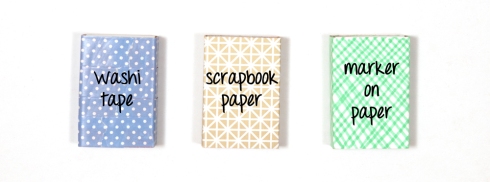
I saw these adorable matchboxes from  Kim’s Little Monsters and thought I would make some of my own. These will make great little gifts or stocking stuffers. The best part is that you can use whatever supplies you have on hand and really personalize them. Don’t worry too much about making them perfect, the imperfections add to their charm.

#DIY instant comfort box by Making Mondays

Supplies

empty matchbox

scrapbook paper/paper/washi tape

pens/markers/colored-pencils/paints (whatever you prefer)

cardboard

scissors

glue

First wrap the outside.

#DIY instant comfort box from Making MondaysThen draw the cover. Cut to size and glue on the top.

#DIY instant comfort box by Making Mondays

Now decorate the inside. Cut a decorative background and glue it into place. Then make a character. If you’re not a great at drawing, you can use a photo or clipart. Cut out your character and glue to a small piece of cardboard (smaller than the character so you won’t see it). This will add depth. Glue it into place.

#DIY instant comfort box by MakingMondays

Lastly, add words of encouragement. Draw a ribbon and write in something sweet. Cut it out and leave a tab on the side. Fold and glue the tab to the side of the matchbox.

Stocking Stuffers for Him

13 Nov

I went to the mall this past weekend and it was packed. Having a flashback to last year, I decided I need to get all my Christmas shopping done ASAP. I don’t want to step foot in a store after Thanksgiving. No parking garage traffic jams, crowded stores, and mile-long lines for me.

So this week I got right to work figuring out who/what I needed. Luckily I don’t have many people to shop for as most of my family/friends will be getting handmade gifts or paintings.

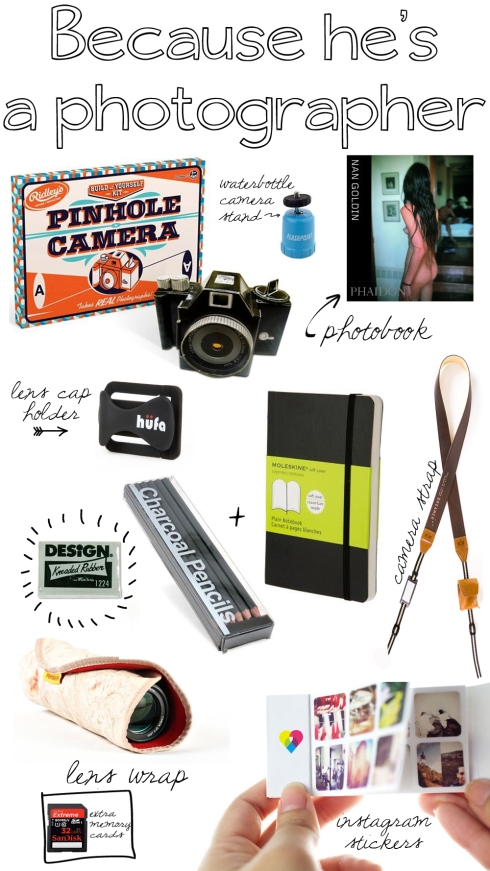
Here are some stocking stuffer ideas for the man in your life.

Stocking Stuffers for Him from MakingMondays.wordpress.com

Stocking Stuffers for Him by Making Mondays

Stocking Stuffers for Him from MakingMondays

For links to this stuff and the rest of the ideas I came up with in the process check out my pinterest boards:

Stocking Stuffers for Him
and
Stocking Stuffers for Her

What do you guys think? Any other ideas?

Cooking with Pinterest: Pumpkin Spice Sugar Cookies

4 Nov

I’m so glad I found this recipe from the No. 2 Pencil. These cookies were absolutely perfect. I’ve used this recipe twice now and I know I will be using it again and again.

Pumpkin-Spice-Sugar-Cookies from No. 2 Pencil

First, I made them as directed minus the icing. They were perfectly sweet and spiced. They cooked great; soft in the middle and crisp around the edge. I didn’t have any pre-mixed pumpkin pie spice, so I used this recipe from My Baking Addiction to make some. It did the job perfectly.

The cookies were so good that I used the recipe again without the pumpkin spice for simple sugar cookies. Oh and they were perfect! This is absolutely the best sugar cookie recipe I have ever used. The texture is perfect and they are not overly sweet. They made great drop cookies, I’m not sure how they would do as roll-outs though.

I recommend this recipe with or without the pumpkin spice. Although pumpkin spice is great this time of year.

DIY postcard coasters

21 Oct

DIY postcard coasters by MakingMondays.wordpress.com

I picked up these beautiful vintage botanical chart postcards a couple weeks ago. And I’m feeling kinda selfish, they are just too beautiful to share. After a long internal debate over whether or not I should simply frame them, I decided to turn them into coasters! I’m so glad I did because they turned out amazing with a really thick, high-gloss finish. Looking around the internet there are a lot of different tutorials for making coasters, this is the way I did it.

Supplies

tiles

postcards

scissors

white glue

cheap brush or foam brush

pour-on epoxy resin (I used Envirotex)

plastic cups

drop cloth/cardboard/paper

felt pads

#DIY postcard coasters by makingmondays.wordpress.com

Cut postcards to size. I cut mine into 3 ½ inch squares.

#DIY postcard coasters by makingmondays.wordpress.com

Coat the back of the postcard with glue and place it onto the clean tile. Make sure you get the postcard positioned correctly and press it down to remove any trapped air. Coat the top with a layer of glue. Don’t worry about brush strokes, they will disappear when you apply the resin. Allow to dry completely.

#DIY postcard coasters by makingmondays.wordpress.com

Use a disposable cup to elevate your tile, so the resin runoff will not pool under the tile. Put down a piece of cardboard to catch the runoff.

Pour on the epoxy as directed on the package. For more thorough instructions on using Envirotex, check out this incredible step-by-step from Homemade Gifts Made Easy.

#DIY postcard coasters by MakingMondaysAllow to dry completely, which took 3 days in my case. The resin was easier to use and less messy than I expected. I highly recommend it if you want a professional finish. Mine turned out smooth, even, and really glossy.

#DIY postcard costers by MakingMondays.wordpress.com

Attach felt pads to the bottoms and you’re done.

The total cost of this project was around $10 (but there was enough resin left to do a lot more than 4). The postcards were 25¢ each, the tiles were 16¢ each, I already owned the glue, disposable cups were a $1, and the pour-on resin was $7 from Michaels with a 50% off coupon (it can be found in the glue section). They took less than an hour of active time to make, but took several days if you include drying time.

If you aren’t feeling selfish like me, these would make a great gift.