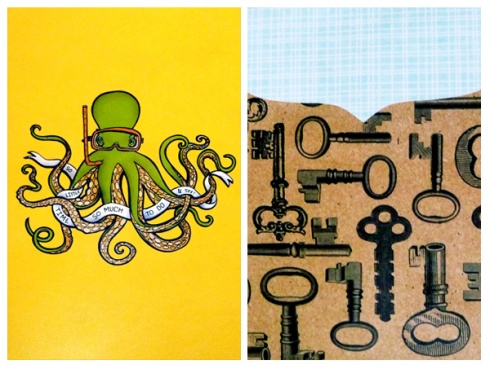
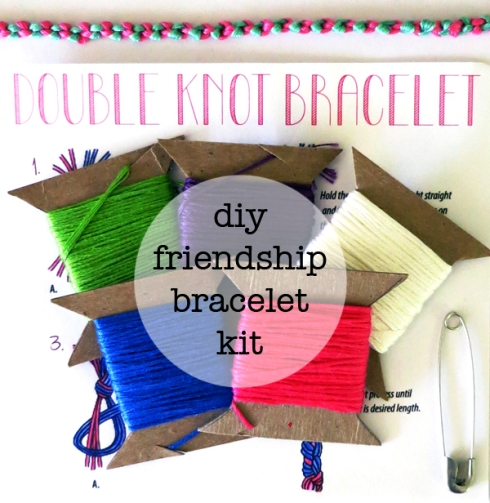
Everyone loves mail! Chris and I sent a pen palling kit to his little sister this week. She is 9 and she wrote him during the school year for class. Her letters were great and it gave him a chance connect with her in a different way. It was interesting to see what was important to her and what she choose to write about. He’s learned things that he wouldn’t have even thought to ask about, like she learned cursive this year and after about 4 letters it started to be readable. Did I mention her drawings? Amazing. Anyway, he is hoping this will keep her interested now that it’s not a requirement.
But this would also be a great way to start pen palling with someone you don’t get to see enough.

Items to include:
Photo Box to put it all in
Envelopes
Postage Stamps
Construction Paper/Scrapbook Paper/White Paper/Stationary
Die-cut shapes
Stickers (letters and cool things)
Tape
Glue stick
Scissors
Pencils/Pens/Markers/Colored Pencils/Glitter Pens
Notebook (optional, we decided to send a notebook back and forth rather than traditional letters, so the conversation is complete for her to look back at later)
Choose a notebook that appeals to you and personalize it. On the back inside cover, we added a handmade envelope to send secret messages, pictures, and other finds. And on the first page, we put a map of the US with our location and her location marked so she has a better understanding of where we are.

Make your letter fun and personal. If your pen pal is young, it is important to give them examples of what they can do through your letter. And there is so much you can do. You could paste in comics and photos . Or start a correspondence game of tic-tack-toe or hangman. Or write a secret code key and include a message to decipher. Be sure to give them something to write back about. To get the process started, you can print these fill in the blank questions for your pen pal to answer.

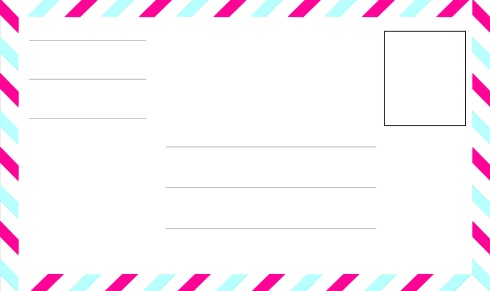
Lastly, we attached our address to the lid of the box, so it can’t get lost. If your pen-pal hasn’t mailed a letter before, you may want to use this as an address label and an example of how their envelope should look.

FREE PRINTABLES click on the images above to open them as full size PDFs, then you can save or print the files from there!
P.S. How great would this be as a going away present?
Tags: diy kits, diy pen pal kit, envelope, family, fill in the blank, free printables, gift, gift box, gift set, gifts, kids, letter writing, mail, make a pen pal kit, making mondays, pen pal, pen pal ideas, pen pal kit, pen pal kit for kids, printables


 Cut out the large rectangle. Then take 1 inch off of each side of the bottom flap and 1 inch off each side of the top flap. I also trim the top flap at this point, which are the diagonal lines I drew in.
 Just add some washi tape around the edge and you’re ready to send it. I suggest using a white paint marker or metallic Sharpie for addressing darker pages.
 I also used a couple pages to line envelopes I had on hand. Simply trace the envelope on the image, cut it out, slide into the envelope, and the secure it to the flap with a line of glue.


