I picked up these beautiful vintage botanical chart postcards a couple weeks ago. And I’m feeling kinda selfish, they are just too beautiful to share. After a long internal debate over whether or not I should simply frame them, I decided to turn them into coasters! I’m so glad I did because they turned out amazing with a really thick, high-gloss finish. Looking around the internet there are a lot of different tutorials for making coasters, this is the way I did it.
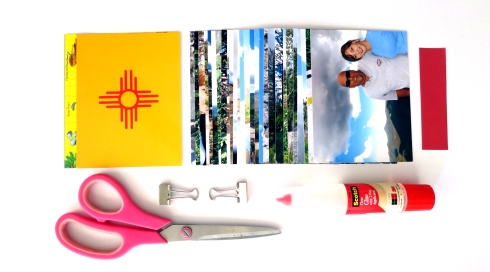
Supplies
tiles
postcards
scissors
white glue
cheap brush or foam brush
pour-on epoxy resin (I used Envirotex)
plastic cups
drop cloth/cardboard/paper
felt pads

Cut postcards to size. I cut mine into 3 ½ inch squares.

Coat the back of the postcard with glue and place it onto the clean tile. Make sure you get the postcard positioned correctly and press it down to remove any trapped air. Coat the top with a layer of glue. Don’t worry about brush strokes, they will disappear when you apply the resin. Allow to dry completely.

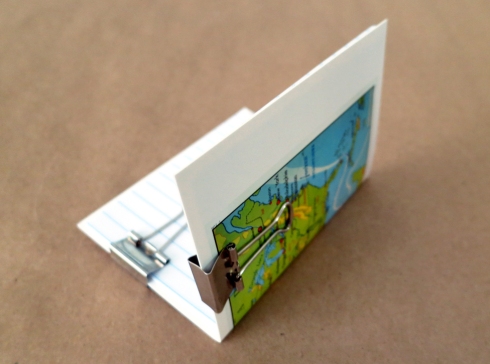
Use a disposable cup to elevate your tile, so the resin runoff will not pool under the tile. Put down a piece of cardboard to catch the runoff.
Pour on the epoxy as directed on the package. For more thorough instructions on using Envirotex, check out this incredible step-by-step from Homemade Gifts Made Easy.
 Allow to dry completely, which took 3 days in my case. The resin was easier to use and less messy than I expected. I highly recommend it if you want a professional finish. Mine turned out smooth, even, and really glossy.

Attach felt pads to the bottoms and you’re done.
The total cost of this project was around $10 (but there was enough resin left to do a lot more than 4). The postcards were 25¢ each, the tiles were 16¢ each, I already owned the glue, disposable cups were a $1, and the pour-on resin was $7 from Michaels with a 50% off coupon (it can be found in the glue section). They took less than an hour of active time to make, but took several days if you include drying time.
If you aren’t feeling selfish like me, these would make a great gift.
Tags: #diy, christmas, coaster, coasters, craft, crafts, diy, do it yourself, easy, gift, gifts, gloss, glossy, handmade, home, home decor, homemade, make, making mondays, photo, photos, post card, postcard, resin, shiny, waterproof


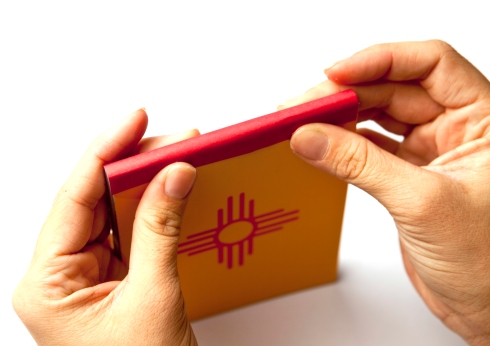
 Cut out the large rectangle. Then take 1 inch off of each side of the bottom flap and 1 inch off each side of the top flap. I also trim the top flap at this point, which are the diagonal lines I drew in.
 Just add some washi tape around the edge and you’re ready to send it. I suggest using a white paint marker or metallic Sharpie for addressing darker pages.
 I also used a couple pages to line envelopes I had on hand. Simply trace the envelope on the image, cut it out, slide into the envelope, and the secure it to the flap with a line of glue.

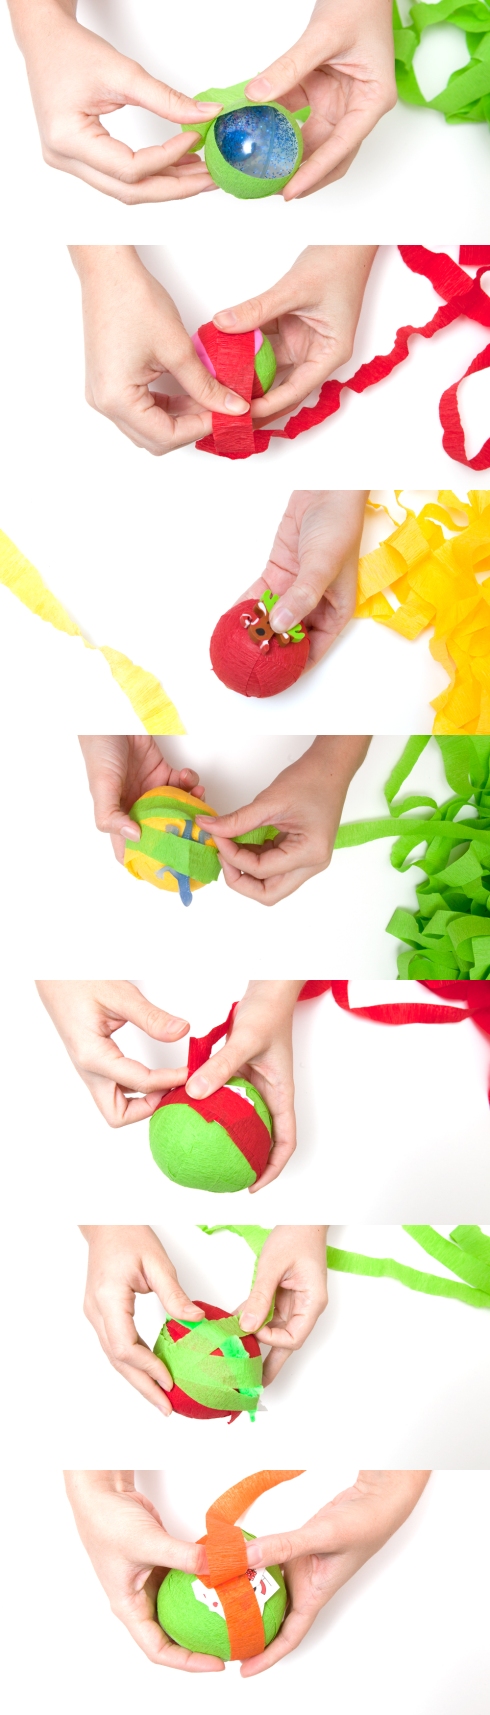 Now that everything is all wrapped up. Use a dab of glue to secure the end. Then cut a couple small leaves from the construction paper and glue them over the end and glue the button on top of the leaves. Let it dry and it’s ready to be unwrapped!


 Then draw the cover. Cut to size and glue on the top.